
Set up the Customer App for RouteIQ Dispatch Software
Give customers a branded place to request work, follow active jobs, manage payment methods, and review their history.
What the Customer App does
The Customer App is where customers request work, pay, follow active jobs, and review their history. They can request an immediate or scheduled job, add stops, choose an available service and payment method, follow active work, receive notifications, and review past activity.
| Surface | Who uses it | What it is for |
|---|---|---|
| Customer App | Registered customers | Requesting, paying for, and managing jobs |
| Tracking page | Anyone with a job’s secure link | Following one job without signing in |
| Driver App | Your drivers and field workers | Receiving and completing assigned work |
1. Apply your brand
- In RouteIQ Dispatch Software, open Settings → Branding.
- Enter the customer-facing Site / Brand name and an optional tagline.
- Upload a logo or enter a public logo URL.
- Choose the brand color, accent color, and light or dark theme.
- Select Customer app in the preview and check both mobile and web layouts.
- Select Save.
The same branding also appears on your public tracking page and Customer App invite banner. Changes apply to the site, so every customer sees one consistent identity.
2. Add the app-store links
Still under Settings → Branding, paste these destinations into App Store URL and Play Store URL, then save:
These fields power the Get the App action shown on your customer-facing pages. The link opens the appropriate store for the customer’s device when possible.
The native app keeps the RouteIQ store listing and application icon. After a customer opens your invite link or enters your company code, your name, logo, colors, and theme are applied inside the customer experience.
3. Share the Customer App
- Open Settings → Customer App.
- Copy the Customer link for email, SMS, your website, or booking confirmations.
- Keep the short Company code available for customers who install the app directly.
- Download the QR code as PNG or SVG for receipts, vehicles, counters, and printed material.
- Use Print poster for a ready-to-display version, or copy the iframe when you want the invitation on your website.
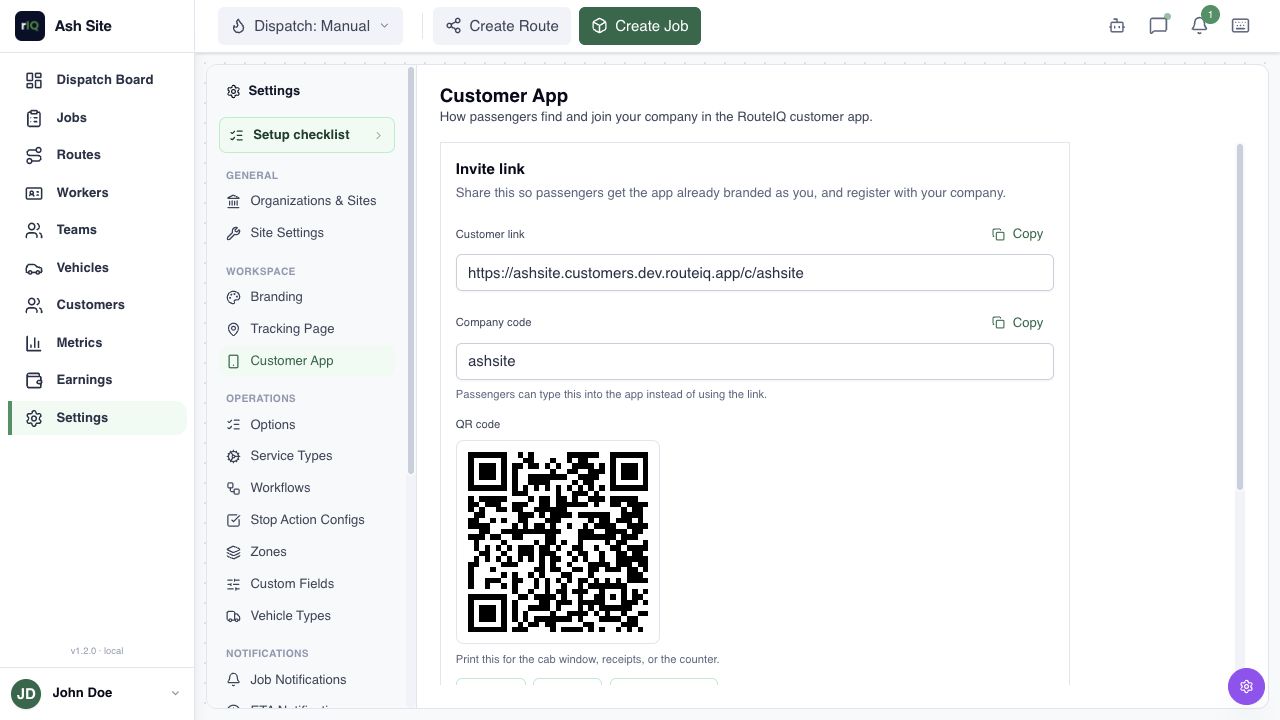
4. What the customer sees
- OpenThe invite link or QR loads your company.
- JoinThe customer registers, signs in, or joins with an existing account.
- RequestThey choose locations, service, timing, and payment.
- FollowActivity, status, notifications, and payment history stay in one app.
If a customer opens the invite on a device without the native app, the web experience remains available. If they installed from a store first, they can enter the company code shown on your Customer App settings page.
5. Verify the setup
- Open the customer link in a private browser window or on a test phone.
- Confirm the company name, logo, theme, and colors match the Branding preview.
- Test the App Store and Google Play destinations.
- Create a test customer account, request a non-production job, and confirm it appears under Activity.
- Open that job and confirm status, route, payment, notification, and cancellation options match your site configuration.
Troubleshooting
The app shows RouteIQ instead of our brand
Open the site-specific invite link again or enter the company code. Then confirm the Branding page was saved and that the customer joined the correct company.
The company code is not found
Copy it directly from Settings → Customer App. If your site subdomain changed, replace older printed links and QR codes.
A service or payment method is missing
The Customer App only presents options currently available to that customer and job. Check service types, pricing, payment integrations, and the customer’s saved wallet.
A customer has accounts with more than one company
They can use the same account and join another company through its invite. The app will ask them which company profile to use when necessary.